“`html
Cleansing Your Space: Cleaning Hack Removes Mould Instantly with One Common Household Item
Mould can be a pesky problem, lurking in damp corners and dark spaces of our homes. Not only is it unsightly, but mould can also pose health risks, particularly for those with allergies or respiratory issues. While many cleaning products promise to tackle mould effectively, you can achieve impressive results using a single, common household item: vinegar. In this blog post, we’ll explore how to harness the power of vinegar for an instant mould clean-up, giving you a healthier and fresher living environment.
Why Vinegar Works Wonders Against Mould
Vinegar is a natural cleaning agent with mild acetic acid content, making it a formidable opponent against mould spores. Here’s why vinegar is effective:
- Antimicrobial Properties: Vinegar’s natural acidity kills 82% of mould species.
- Safe and Non-Toxic: Unlike harsh chemical cleaners, vinegar is safe for your family and pets.
- Odour Neutralizer: Vinegar not only cleans but also helps eliminate musty smells associated with mould.
How to Clean Mould with Vinegar: A Step-By-Step Guide
Ready to banish mould from your home? Follow this simple guide to ensure effective results:
Materials Needed:
- White distilled vinegar
- Spray bottle
- Scrub brush or sponge
- Microfiber cloth
- Gloves (optional, for sensitive skin)
Step 1: Prepare the Area
Before you get started, ensure that you have access to good ventilation. Open windows or use fans to circulate air. This is especially important if you’re using vinegar, as the smell can be strong.
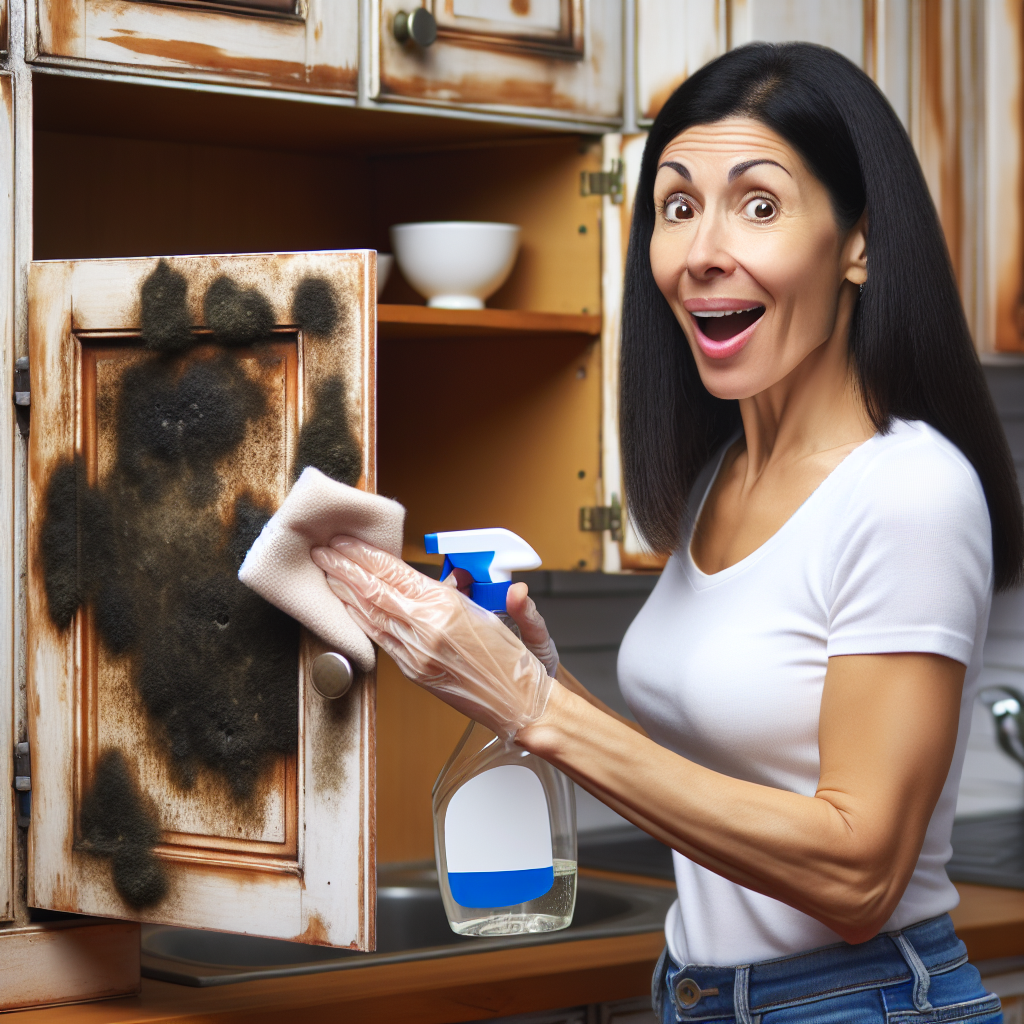
Step 2: Apply the Vinegar
Pour white distilled vinegar into a spray bottle. You can use it undiluted for tougher mould stains. Spray the affected area generously, ensuring the mouldy surface is completely saturated with vinegar.
Step 3: Let it Sit
Allow the vinegar to sit on the mould for at least one hour. This will give it time to penetrate the mould and kill the spores. If the mould is particularly stubborn, consider leaving it for up to 24 hours.
Step 4: Scrub Away the Mould
After the waiting period, take a scrub brush or sponge and scrub the area where the mould was present. Most mould should come off easily if it has been treated properly with vinegar.
Step 5: Wipe Clean
Once you’ve scrubbed away the mould, use a microfiber cloth to wipe the surface clean. This will help remove any remaining mould residue and vinegar solution.
Step 6: Repeat if Necessary
If you find that some mould remains, you may need to repeat the process. For persistent mould, consider reapplying vinegar and letting it sit longer before scrubbing.
Preventing Future Mould Growth
Now that you’ve successfully cleaned the mould, it’s important to implement preventive measures to keep it from returning. Here are some tips:
- Maintain Low Humidity: Keep indoor humidity levels below 50%. Use dehumidifiers in damp areas and ensure ventilation.
- Promptly Fix Leaks: Address any plumbing leaks or water intrusion in your home immediately.
- Use Exhaust Fans: Ensure that bathrooms and kitchens are equipped with exhaust fans to eliminate excess moisture.
- Regular Cleaning: Incorporate vinegar into your regular cleaning routine to proactively combat mould.
Conclusion
With this simple cleaning hack, you can **tackle mould head-on** and create a healthier home environment. Using vinegar not only removes mould effectively but also embraces a natural approach to cleaning that is safe for everyone in your household. By understanding the properties of vinegar and following the steps outlined above, you’ll find that managing mould is no longer a daunting task.
So the next time you encounter mould in your home, reach for that bottle of vinegar and enjoy the instant results it brings. Your home will smell fresher, look cleaner, and be a safer space for you and your loved ones!
“`
Looking for Premium Cleaning in Central New Jersey?
At Maid In America Cleaning Services, we bring professional, eco-friendly residential and commercial cleaning straight to your doorstep. Based in Perth Amboy, NJ, we proudly serve homeowners and businesses within a 20-mile radius, including Edison, Woodbridge, Sayreville, Staten Island, and New Brunswick.
