“`html
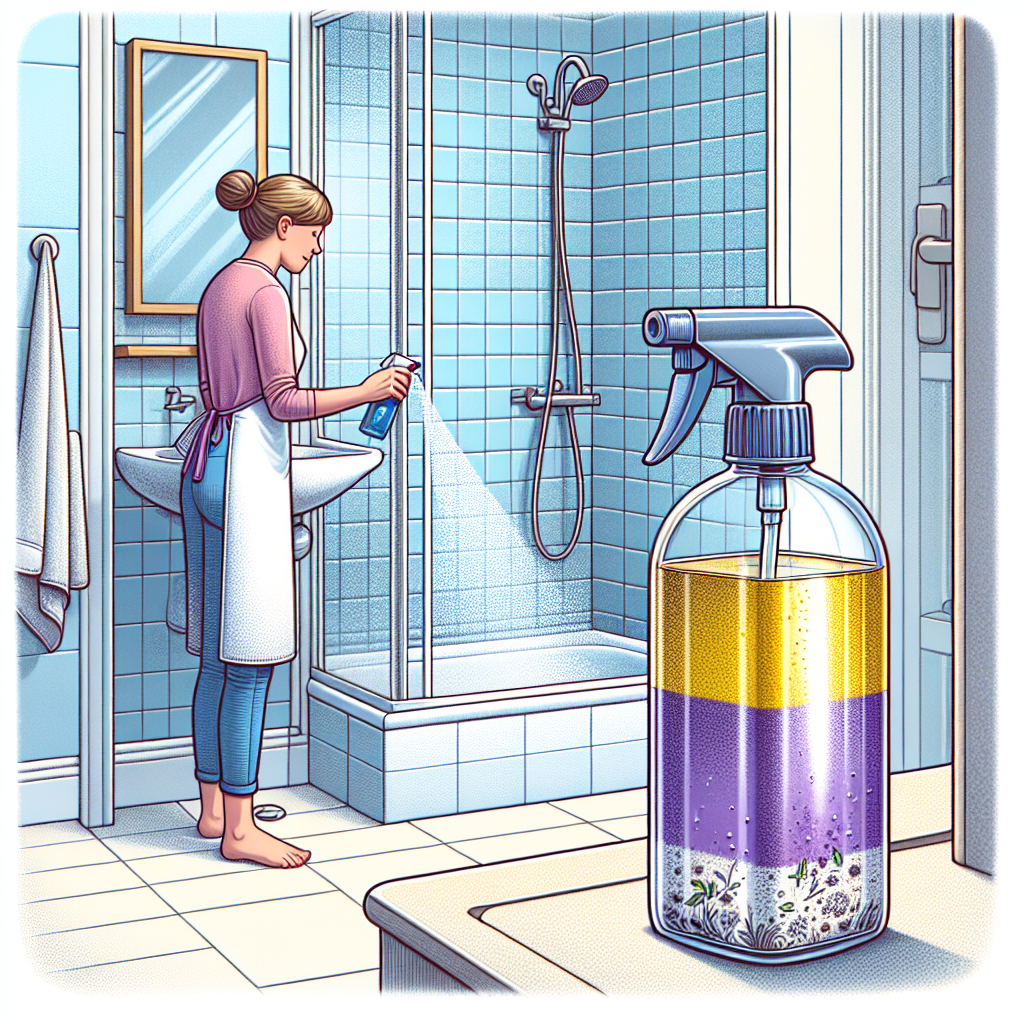
Expert’s Three-Ingredient DIY Spray Eliminates Mould and Brightens Showers
Keeping your shower clean and mould-free can be a daunting task, especially when pesky mould spores seem to multiply overnight. Fortunately, an expert has discovered a simple, effective solution that requires only three ingredients! This DIY spray not only combats mould but also leaves your shower sparkling. In this blog post, we’ll share how to make this amazing spray and tips for keeping your shower fresh.
Why Mould Grows in Your Shower
Mould thrives in damp, humid environments, making showers the perfect breeding ground. Here are a few common reasons why mould may be a persistent problem:
- Poor ventilation
- Excess moisture from hot showers
- Soap residue and dead skin cells
Understanding these causes can help you implement preventive measures alongside using this DIY spray.
Ingredients You’ll Need
Before we dive into the recipe, here are the three key ingredients you’ll need to create your own mould-fighting spray:
- White vinegar – A natural disinfectant that kills mould spores and neutralizes odors.
- Baking soda – A powerful abrasive that scrubs surfaces while deodorizing.
- Liquid dish soap – Helps to break down grime and soap scum, making surfaces easier to clean.
How to Make the Mould-Busting Spray
Creating this DIY spray is not only quick but also cost-effective. Here’s how to whip it up:
- Mix your ingredients: In a spray bottle, combine 1 cup of white vinegar and 1 cup of water.
- Next, add in 2 tablespoons of baking soda. Be careful; it may fizz a little!
- Finally, add 1-2 tablespoons of liquid dish soap for added cleaning power.
- Secure the lid and gently shake the bottle to mix the ingredients until well combined.
How to Use the Spray Effectively
Now that you have your DIY mould-fighting spray ready, it’s time to put it to good use! Follow these steps for maximum effectiveness:
- Spray the affected areas: Generously spray the solution on mould-prone areas in your shower, such as tile grout and corners.
- Let it sit: Allow the spray to sit for at least 15-20 minutes. This gives the ingredients time to penetrate and break down the mould.
- Scrub gently: Use a soft-bristled brush or sponge to scrub the surfaces, focusing on any stubborn areas.
- Rinse thoroughly: Rinse the shower with warm water, making sure to wash away the residue of the spray.
- Dry the surfaces: Use a squeegee or towel to dry the shower after cleaning, as this will help prevent future mould growth.
Tips to Keep Your Shower Mould-Free
Cleaning is crucial, but adopting a few habits can significantly reduce mould build-up in the long run. Here are some tips to help maintain your mould-free shower:
- Ventilation: Always use an exhaust fan during and after showers to reduce humidity.
- Regular cleaning: Use the DIY spray weekly to keep mould at bay.
- Dry off: Wipe down your shower after each use to remove excess moisture.
- Shower curtains and mats: Wash or replace them routinely to prevent mould growth.
Conclusion
With just three simple ingredients, you can create a powerful DIY spray that not only eliminates mould but also brightens your shower. This easy-to-make solution is a testament to the effectiveness of natural cleaning ingredients, making it a perfect addition to your cleaning routine.
By consistently using this spray and adopting preventive measures, you can enjoy a sparkling clean, mould-free shower for years to come. So, roll up your sleeves and give this expert-recommended spray a try today! You’ll be amazed at the results.
“`
