The Ultimate Microwave Cleaning Hack Using Just a Sponge
We all know the struggle of trying to keep our kitchens clean, and one of the appliances that often gets overlooked is the microwave. Spills, splatters, and unidentifiable stains can make it seem like a daunting task, but cleaning your microwave doesn’t have to be a chore. With just one item you probably already have in your kitchen—a simple sponge—you can have your microwave looking brand new in no time.
Why Clean Your Microwave?
Before we dive into the cleaning process, let’s talk about why it’s essential to keep your microwave clean:
- Health: Leftover food particles and spills can accumulate and grow bacteria, posing health risks.
- Efficiency: A clean microwave operates more efficiently; you won’t have to deal with residual odors or smoky smells from heated food.
- Longevity: Regular cleaning extends the life of your microwave, protecting it from potential damage.
What You Need
The best part of this cleaning hack is that you won’t need a long list of complicated cleaning supplies. The following materials are all you need:
- A kitchen sponge (preferably one with a scrubbing side)
- Warm water
Optional but Helpful Ingredients
While the sponge and warm water are sufficient on their own, here are a couple of optional ingredients that can enhance your cleaning experience:
- White vinegar: A natural disinfectant that can help cut through tough grease.
- Lemon juice: It adds a pleasant scent and can help remove tough odors.
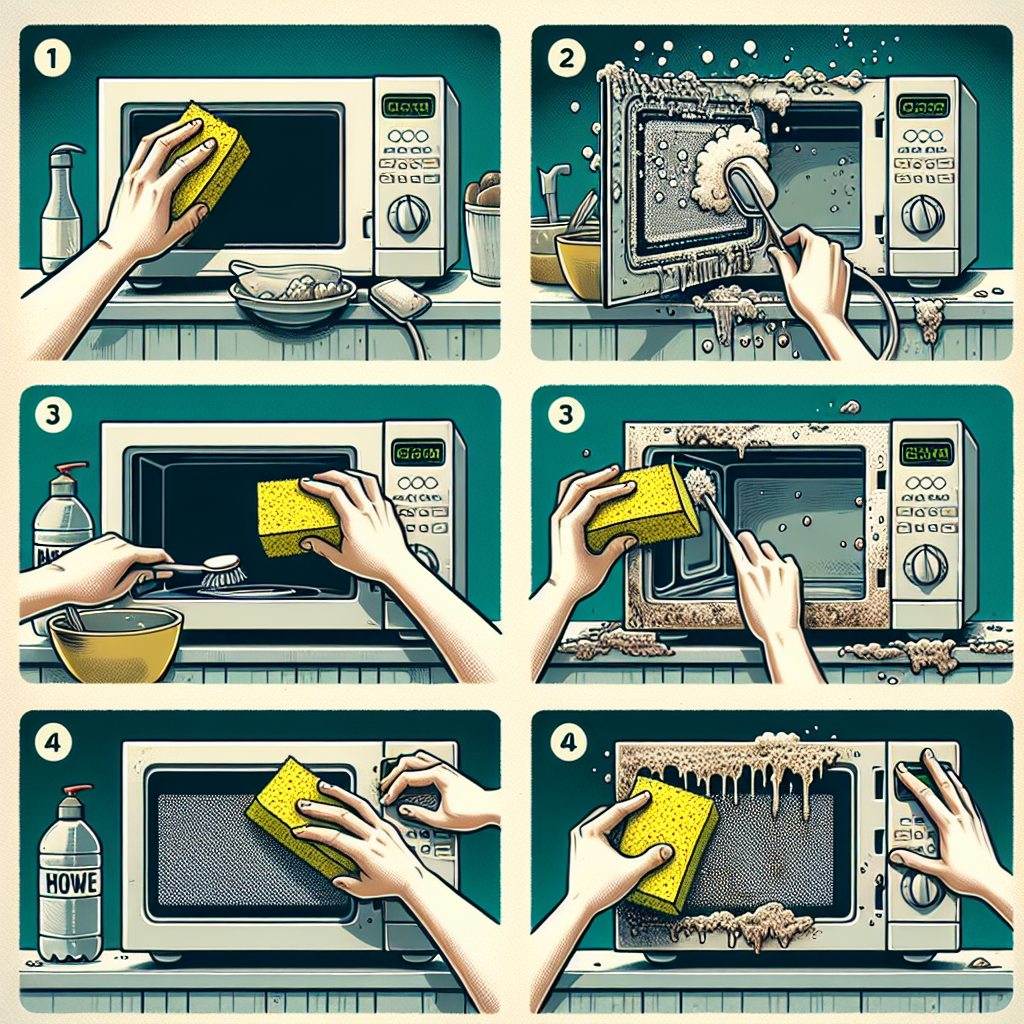
Step-by-Step Microwave Cleaning Process
Now that you have everything you need, let’s get down to the nitty-gritty of how to clean your microwave effectively with just a sponge.
Step 1: Prepare Your Sponge
Start by soaking the kitchen sponge in warm water. If you’re using vinegar or lemon juice, you can mix in a tablespoon with the warm water to create a cleaning solution that will effectively tackle grease and grime.
Step 2: Wipe Down the Interior
Using the soaked sponge, wipe down the interior surfaces of the microwave. Use the scrubbing side for stubborn stains while the soft side is perfect for general cleaning. Focus on:
- The ceiling and walls
- The turntable and the area surrounding it
- The door, including the rubber seal
Step 3: Rinse and Repeat
After the initial cleaning, rinse your sponge in warm water, wring it out, and go over the surfaces again to wipe away any loosened grime and cleaner residue. This step is crucial to ensure that you don’t leave any lingering cleaners behind.
Step 4: Dry and Deodorize
Finally, use a dry cloth or paper towel to give your microwave a final wipe-down. If you’ve used vinegar or lemon, you’ll be pleasantly surprised by the fresh scent left behind.
Additional Tips for Maintaining a Clean Microwave
Once you’ve completed your microwave cleaning, here are some helpful tips to keep it spotless and fresh:
- Cover your food: Using a microwave-safe cover can prevent splatters when cooking.
- Regular cleaning: Make it a habit to wipe down the microwave once a week.
- Use a microwave-safe bowl for steaming: When heating leftovers, use a bowl to contain any spills.
Conclusion
Cleaning your microwave doesn’t have to require a heavy-duty cleaning arsenal. With just a sponge and some warm water—and optional vinegar or lemon juice—you can eliminate grease, stains, and odors, ensuring a safe cooking environment. Remember to maintain a consistent cleaning schedule to make the job easier and keep your kitchen sparkling clean. So grab that sponge and get to work!